Install Apache Solr Mac Yosemite 10.10
Welcome Mac User! The Tutorial Shows You Step-by-Step How-to Install Apache Solr for Mac Yosemite 10.10 OS X.
And the Apache Solr Mac 10.10 Install is an industrial-strength, high performance, thread-safe search server based on Apache Lucene.
Furthermore Solr uses Lucene under the covers to provide the most powerful full text search capabilities available in any open source product.
Finally included in the How-to Install Apache Solr on Mac Yosemite 10.10 You find Link to Required Oracle JDK Installation Guide.

-
Download Latest Apache Solr Server Release:
-
Then Double-Click on Apache Solr .tgz Archive to Extract:
-
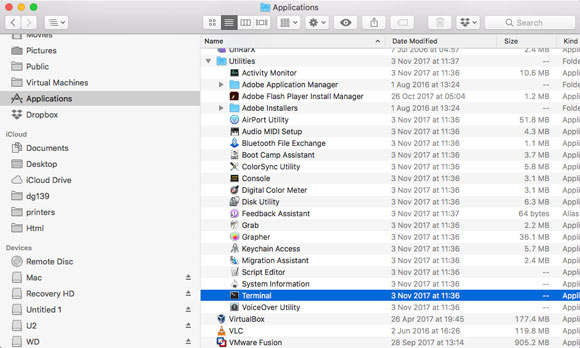
Open a Shell Terminal emulator window
Finder > Applications > Utilities > Terminal
(Press “Enter” to Execute Commands)
-
Relocate Apache Solr Search Server:
First make opt Directory if Not there:if [ ! -d "/opt" ]; then sudo mkdir /opt; fi
And Switch contents with:
sudo mv $HOME/Downloads/solr* /opt/
This for a System Wide Installation, for a Local one Put it somewear into the Home…
-
How-to Install Required Oracle JDK 8+ on MacOS:
-
Then to Access Solr Target
cd /opt/solr*
-
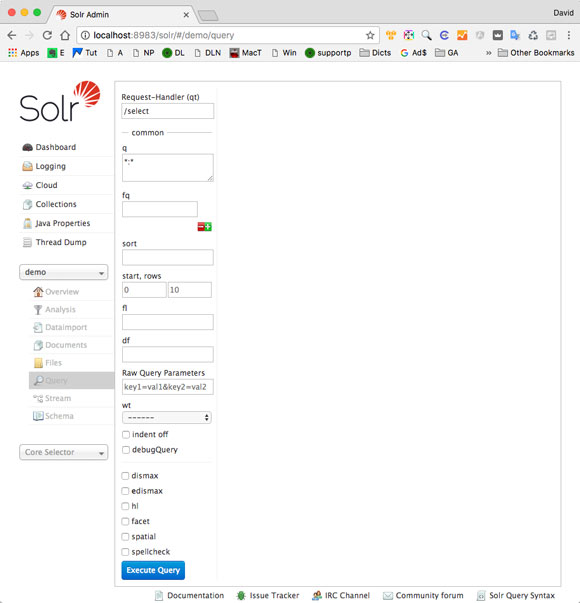
How-to Quick-Start with Solr Searching on Mac:

