
ffmpeg Mac Mojave Installation Guide
Hi! You are Welcome! First of all this Tutorials Shows You How-to Install FFmpeg on macOS Mojave 10.14.
First of all, FFmpeg for Mac Mojave is the leading Multimedia Framework to Decode, Encode, Transcode, Mux, Demux, Stream, Filter and Play.
And to Setup ffmpeg for Mac Mojave 10.14 you have to Grab the 64-bit Mac Build.
Furthermore, here is described a System Wide Installation, but you are Free to Run directly ffmpeg Localy from your Home Space.
Finally, inclueded inside this Guide you find also detailed Instructions on How to Getting-Started with FFmpeg on Mac.
- Download Latest FFmpeg Build for Mac
Select from the List the macOS 64-bit.
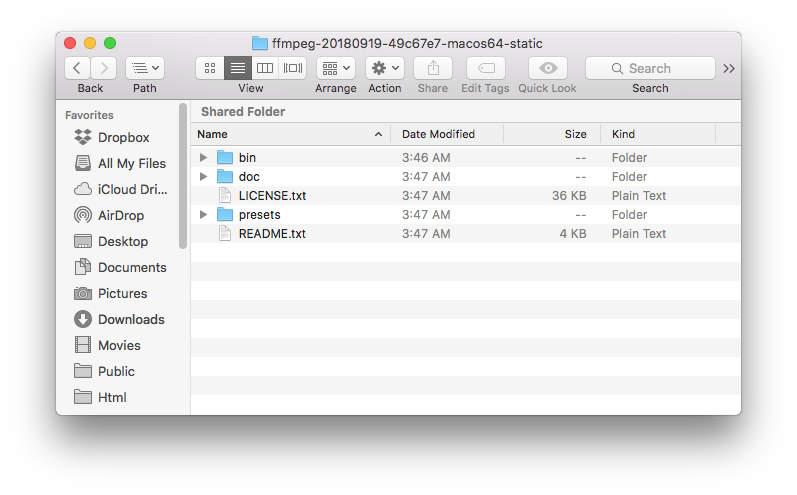
- To Extract ffmpeg Zip Double Click on Archive on Finder
- Then Open a Terminal Shell Emulator
Applications > Utilities > Terminal
(Press “Enter” to Execute Commands)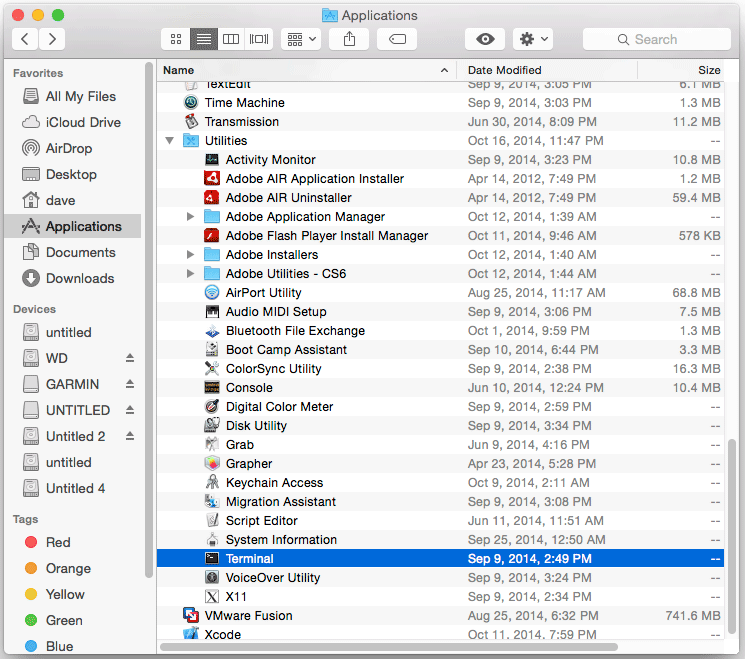
- Access the Target Location
In this Fashion:cd && cd Dowloads
- So Remove FFmpeg Zip
Executing:sudo rm ./ffmpeg*.zip
- Now Relocate FFmpeg
Executing:sudo mv ./ffmpeg* /opt/ffmpeg
- Next Set SuperUser as Owner
Simply with:sudo chown -R root:admin /opt/ffmpeg
Achieve the root Session:
exit
- Further Insert ffmpeg into User’s Path
This for Easy Launching:nano $HOME/.profile
And Append:
export PATH=$PATH:/opt/ffmpeg/bin
Reload the Path with:
source $HOME/.profile
- Finally Test ffmpeg Setup
Again from Terminal:ffmpeg --help
- How to Getting-Started with FFmpeg on Mac
Select from the List the macOS 64-bit.